I am very
behind on my blog, but I have been keeping a daily journal of what I been
learning or doing in each class every day. As the term continued on, some
classes got harder but there has never been a moment that I haven't learned
something new. The downside to the last two months is that my migraines have
worsen and I have been getting them weekly. I have missed a day each week. I am
not sure what is causing them, my diet has not changed nor my sleep (I don't
sleep well regardless of a new environment). A student and I were talking about
maybe it is from having to strain to hear when I am wearing my shades all day
since I can't rely on my vision to read lips. It never dawned on me that could
be the cause, all I knew was at the end of the day I am mental exhausted and
when weekend comes I am dragging. I am going to spend one of my last two weeks
of the term not wearing my shades to see if that helps with my migraines. If
not, then I am going to go see a neurologist to get some help. I am at a point
that I'm so frustrated and tired of hurting. I feel that if it is not my head,
it's my eyes or my back. Never feel that I catch a break, turning 28 this year
feels like I'm a lot older physically.
Since I am
so behind on updating you all on my classes I am going to do a new blog for
each class, enjoy!
First up is
woodshop!
The second
project was making a name sign using a router that had a stylus attached to the
router. I choose the saying "Love is Blind" for my sign.
I started
the project by sanding the cherry wood by hand then using the router next. When
I used the router I placed my left hand on the router handle and held down the
on button, then with my right hand I held the stylus like a pencil and traced
the edge of the letter clockwise. To spaced the letter there was a metal bar
next to the letter template; I would move the wood and the stylus together
until the stylus touched that bar. I would do it twice to get the correct
spacing between words and then lock the board down. Once I had the letters cut
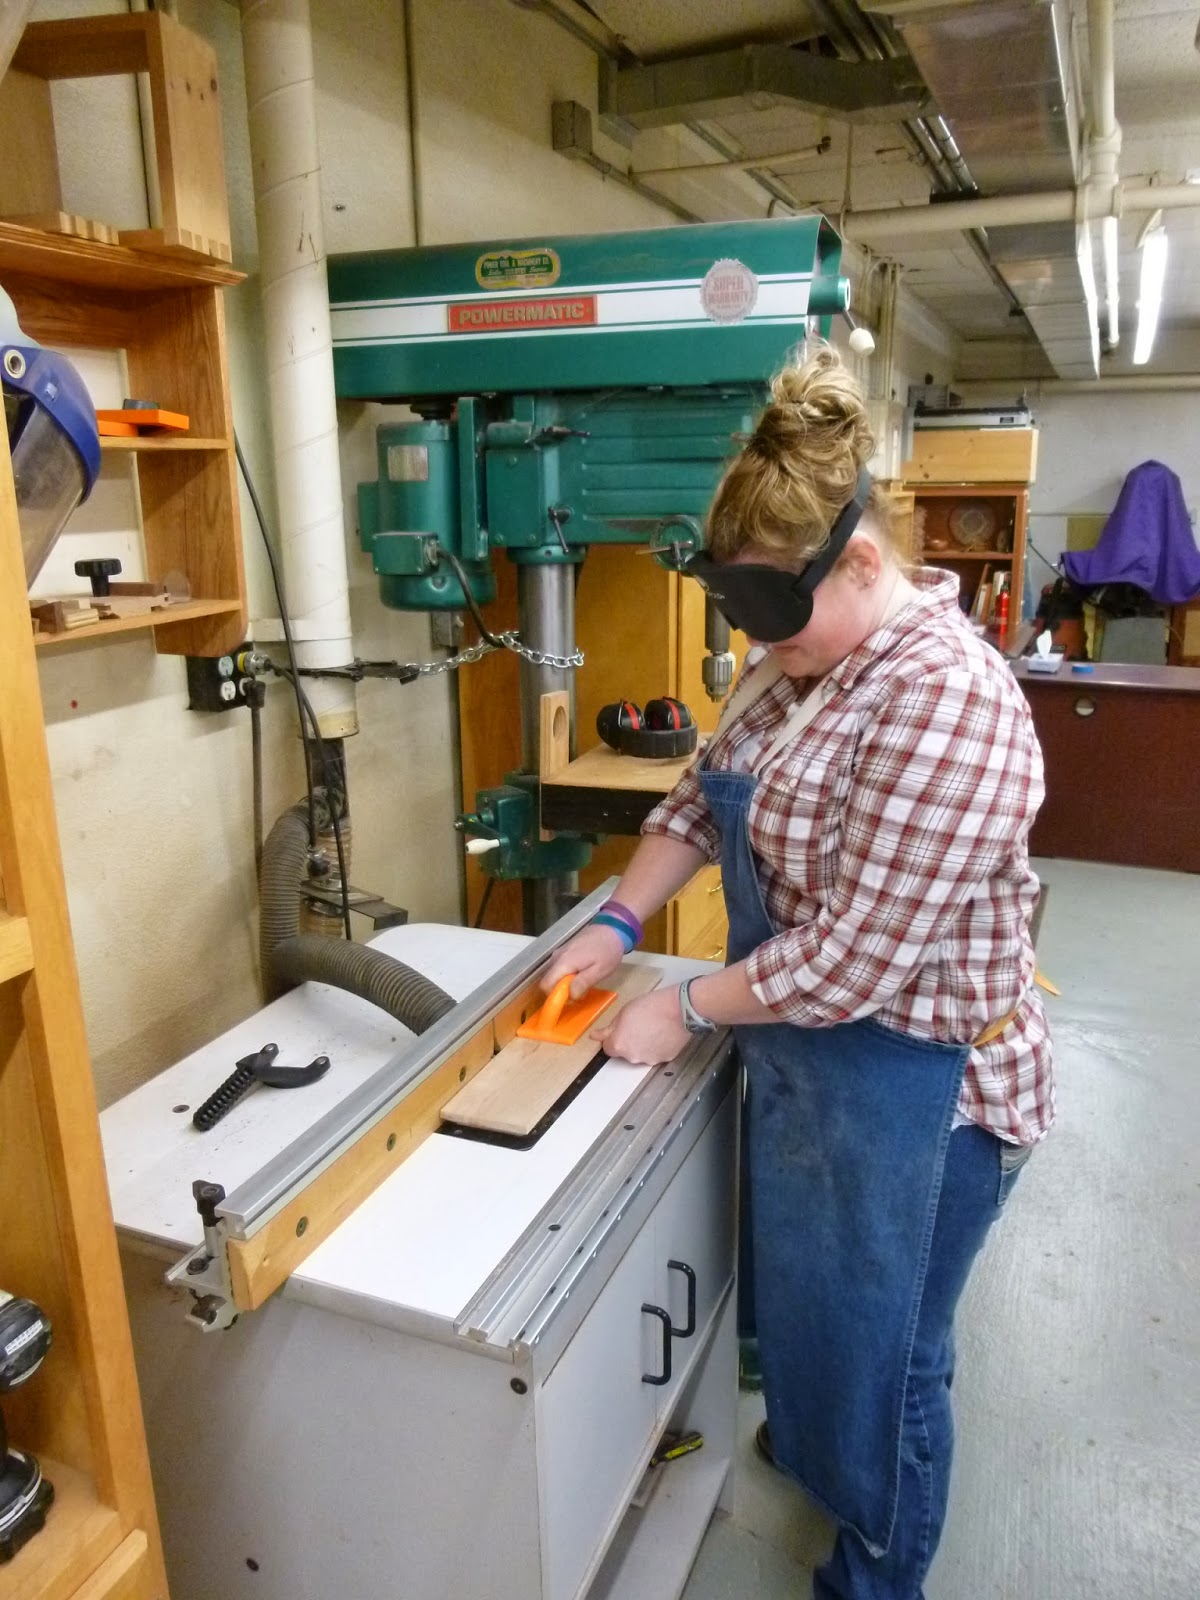
out I used the table router to cut the edge to my sign. All I had to do was
hold my board firmly and push through and the blade did all the work. Then, I did
more sanding to smooth things out. The next step was to paint the letters. How
does a blind person do this? Easy! I put on a pair of gloves and dipped my
finger in the paint. I used the other hand to help guide where my finger with
paint should go. You outline the letter up and down and repeat three times. It
was okay to get paint outside the letters because the next step was using the planer
and that takes off the top layer of the wood, which took that paint off and
make it smooth and clean looking. Last step was to apply the finish! I wore
gloves again and used a folded paper towel that was inside a big plastic
paperclip. I would dip it and used my other hand to guide and orient myself. I
repeated this three times and then it was completed! The sign turned out great!
The "s" and "n" are two of the hardest letters ,to do
because you have to do the cutting in sections and freestyle in some areas
where you are not using the template.
The project
that I am currently working on is the cutting board. I started by taking the
two woods that I'm using and cut it to 31 inches long. I measured using the
Click Ruler. Then I ran the wood through the planer and joint planer to get it
smooth and the ink markings from the lumbar store off. Next, I had to cut my
wood into strips, which I measured with a Click Ruler and set the fence of the
table saw to that measurement. Once I had the saw in place where I wanted it, I
moved the cover to the blade over until I had enough room so I could push the
wood through with a piece of wood. Using this saw isn't hard and I was not
nervous just awkward because I had to stand so far to the left and reach to
push the wood through, but I managed! After my strips were cut, I then cut them
all in half. Then I glued them together alternating dark wood then light wood. I
scrapped the dried glue off and ran through the planer again to level out
the wood.
That is how
far I am now, enjoy the pictures!
Pictures of Sign:
Pictures of Sign:
Spacing the Lettering on Router
Putting Back Letter Template
Close Up of Template and Stylus
Router
Checking Out My Work
Using Table Router for Edging
Putting the Finish On
Finished Last Coat!
Finished Product, Hanging By Ribbon in Room
Close Up on Edge
Pictures of Cutting Board:
Click Rule and Extension
Measuring Out My 31 Inches to Cut
Setting Up Hand Placement Before Cut
Another Angle of Hand Placement
Cutting Away!
Running Wood Through Planer
Finding Way to Other Side to Retrieve Wood
More to come soon, I promise!!


1 comment:
That is impressive, to say the least! Thank you for writing and teaching us.
Post a Comment